1. Before I begin – for those of you who want an easy way out of this tutorial, you can create a free flash website with Wix that will look like a very professional website. Now for those who are still interested in going through with the tutorial, I will continue. Open flash click new flash document.
2. Open the page properties if its not already opened which it should be Window/Properties/Properties
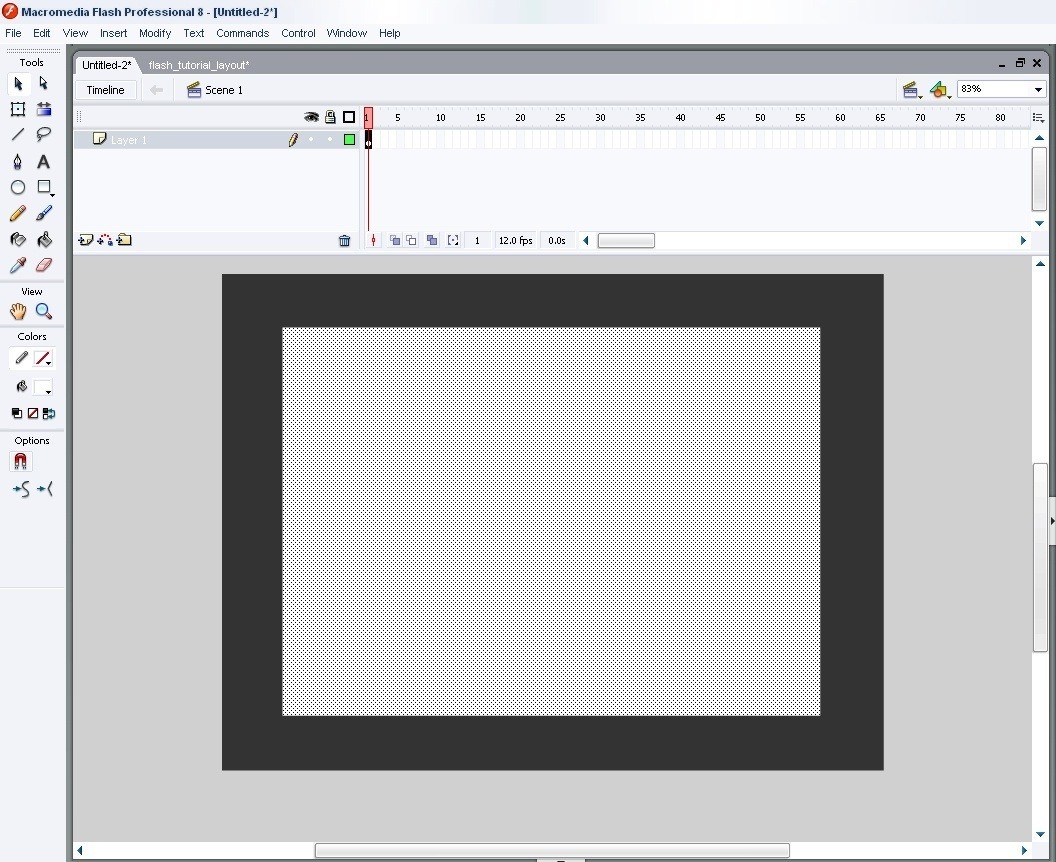
3. Change the size of the canvas to 800, 600.

4. Click on the background button and change it to #333333
5. After you have done this click the square tool
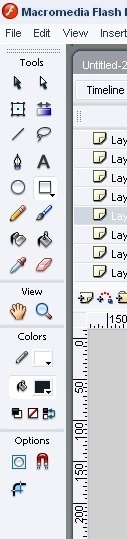
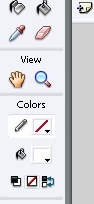
6. The color of the square should be white so click on the paint bucket tool and choose the color white. the stroke should also be off.. this is what it looks like. the stroke tool is right intop of the paint bucket.
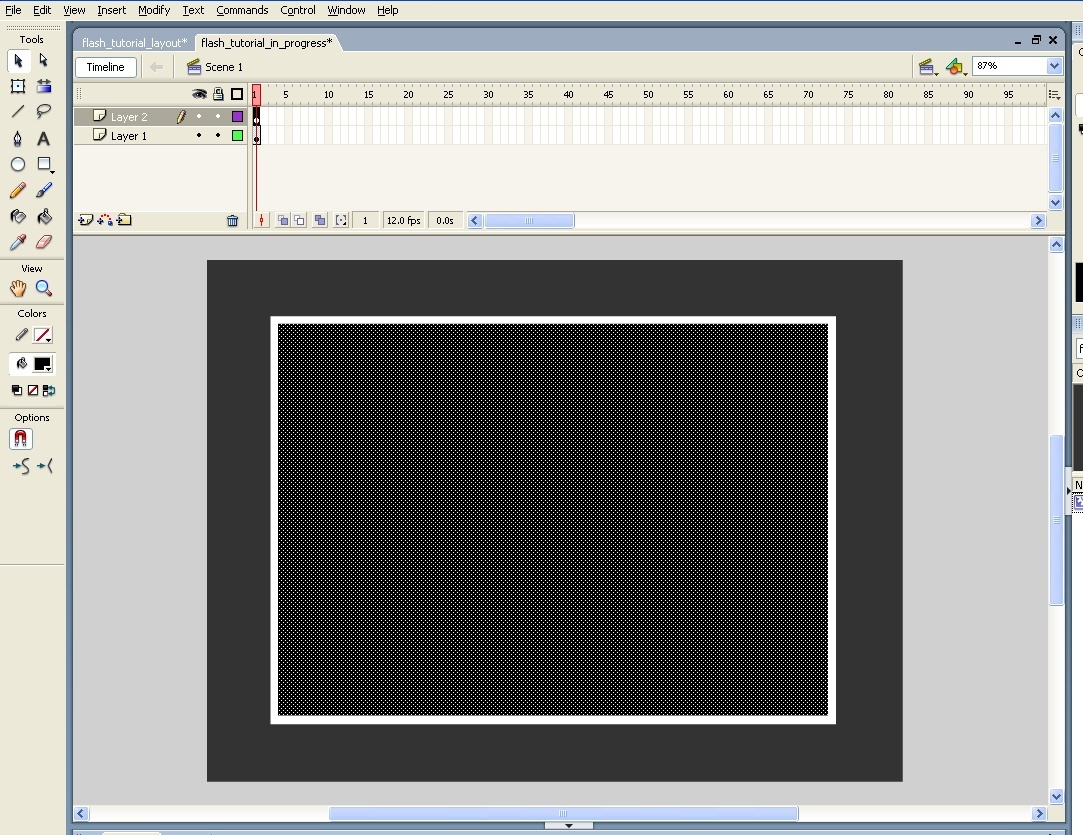
7.Drag and make a square any size we would change that manually in a moment.
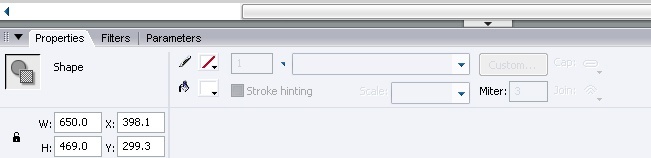
8. now change the width, height, x, and y positioning( change the width to 650, the height to 469.2, the x positioning to 398.1, and the y positioning to 299.3.) to change this dimmensions is all in the page properties. you have to click on the square and with it selected you can start making this changes.
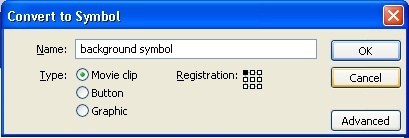
9. with the square still selected now make it into a symbol to do this press (F8) a screen will come up what will ask you to name it. Name it “Background Symbol”. make sure the movie clip button is clicked.
10. make a new layer to do tis click on the insert layer button.
11. Select the new layer and click on the square tool again and make another square with the stroke off and the color instead of white make it black. This time with this dimensions.( width: 632.4, height: 450.4, x positioning: 81.6, and y positioning:73.3)
12. Make the new square into a symbol by pressing (F8) and name it masked symbol.
13. after you have made it into a symbol double click into the square this will take you inside the symbol and a new time line. this is just like the time line you were in but now you are inside of a symbol. make a new layer just like you did it before by clickin on the insert layer button. all the art work is in the bottom layer as of right now you can tell because of the little black dot under and on the top layer there is a white dot. the white dot means there is no art work on this layer.
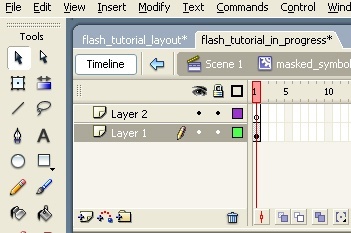
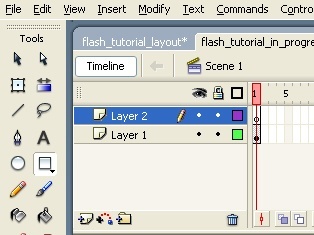
14. Now clck and hold down on “Layer 1″ and with it still clicked drag it intop of “Layer 2″ . remember that all this is happening inside that symbol we made called “masked symbol”.
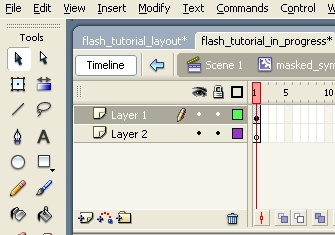
15. the picture on top shows what it should look like.
16. Right click on “Layer 1″ and then select “Mask”
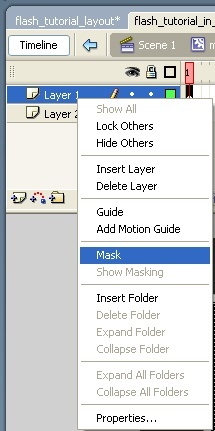
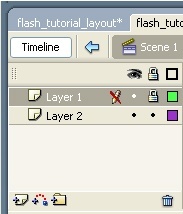
17. when you do this both layers are goint to be locked you can tell because now the have a little lock next to them. click on the bottom lock to take it off.
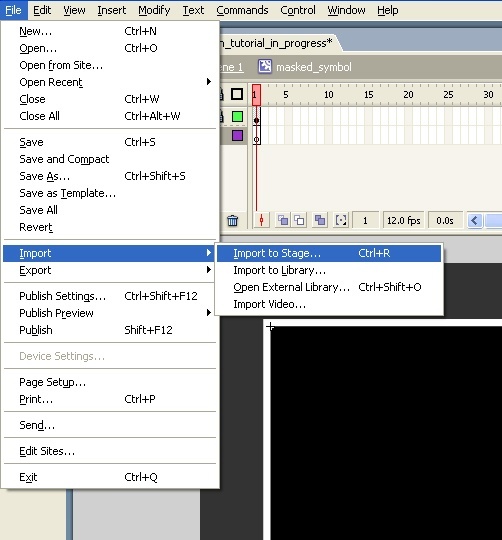
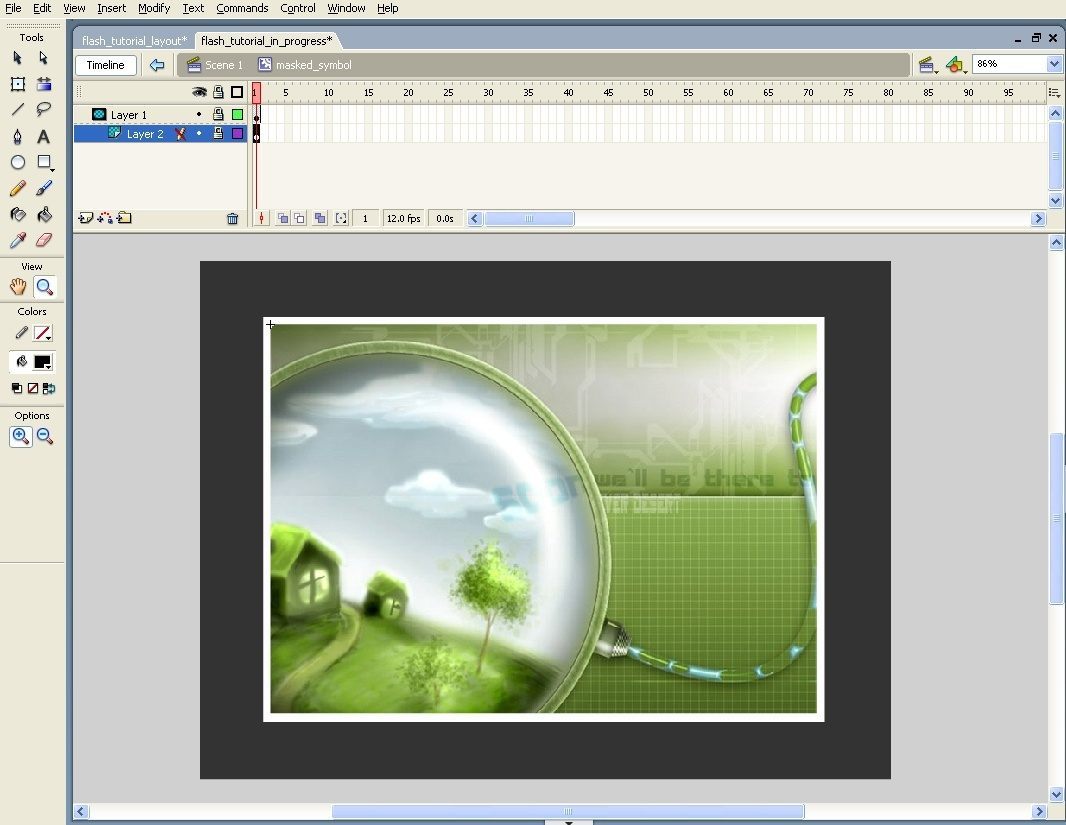
18. Select “Layer 2″ find an image you like and now we are going to place in there. the way you do this is you go File/Import/Import to stage. then a search window is goign to come up and you find where your picture is and double click and it will be placed on the stage.
19. Now lock that layer back up by clicking where the lock was. and you should have something that looks kind of like this.
20. Now go tot the main time line. if you remember we were working inside a symbol so now get out of the symbol and go to the main timeline. a simple way to do this i to click somewhere were there is no artwork outside of the canvas, in the grey area.
21. Now lets make some buttons.Start by making a new layer and drag it all the way down so it becomes the bottom layer.
22. Make a square with the square tool.(background color #666666, width 130, height 50, positioning 137.2, y positioning 553.4).
23. Make this square into a symbol and call it “buttons”
24. select the square and copy and paste in the same place. To do this while with the square selected press (Ctrl + C) this will copy it and the press (Ctrl + Shift + V) and this will copy it in the same place now with it still selct it change the x positioning ( x positioning 269.9 )
25. Follow step 24 three more times but each time with a diffrent x positioning. (x positioning 398.8), (x positioning 529.6), (x positioning 660.5) it should look something like this.

26. Add some text to the buttons click on the text tool. is the one witht the letter “A” right intop of the square tool.

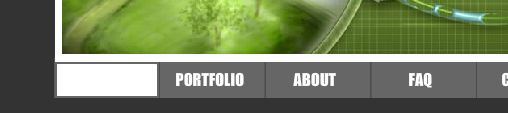
27. change the text color just like if you were changing the background color on a square. After click intop of one of the buttons and type “Home” , then click intop of the second button and type “portfolio”, on the third button type ” About” on the fourth type “FAQ” and on the last button type “ontact”


29. Make a new layer intop of the buttons layer to do this select the buttons layer and then click insert layer and it will put a layer intop of it.
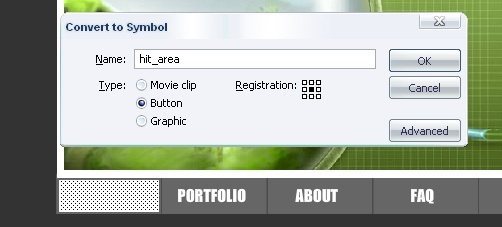
30. here we are going to to create a hit areao for the buttons so you can actually click on them. click on the square tool again and create a square with the color white make this square about the same size of the buttons
31. make this square into a symbol but this time instead of making it a movie clip click on the button selection.
32. double click inside this symbol and it will look a little diffrent than a movie clip symbol. i tsays “Up”, “Over”, “Down”, and “Hit”.
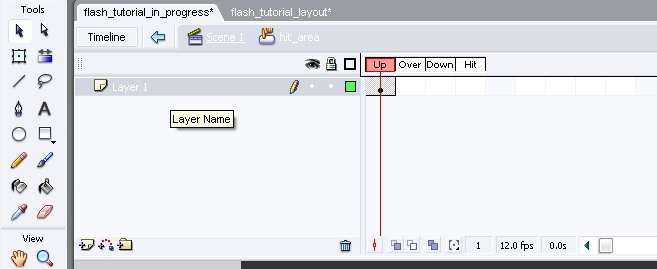
33. there is a littel black dot under the text “Up” right click it and dont leg go and just drag it to where is says hit and now the little black dot should be under the text that says “Hit”
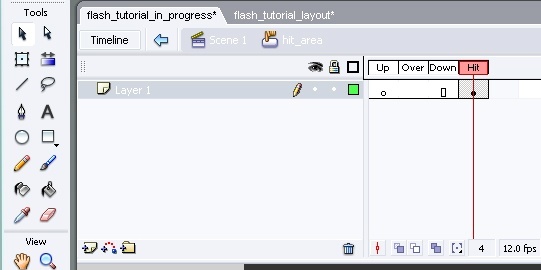
34. Go back to the main timeline. and the box should look blue
35. copy and paste it 4 times and drag each one under on button until all of them have one.

36. Now create a layer at the very top click on the square tool and take the stroke off and the bacgound color black have this settings (width: 304.8, height: 429.1, x positioning: 551.5, and y positioning: 297.0)
36. Now select the square and do the following go to the top menu and click on Modify/Shape/Soften fill edges
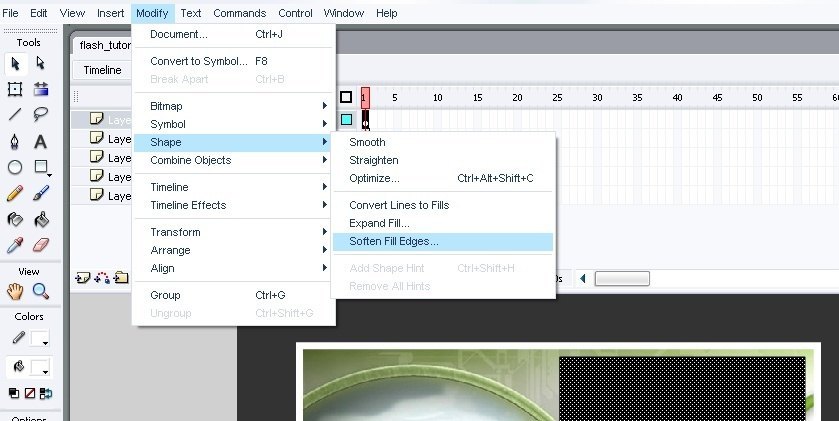
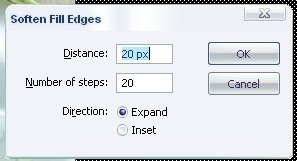
37. a new screen is goingt come up which si going to ask you “distance” , and “number of steps in both of this put 20 and make sure expand is clicked.
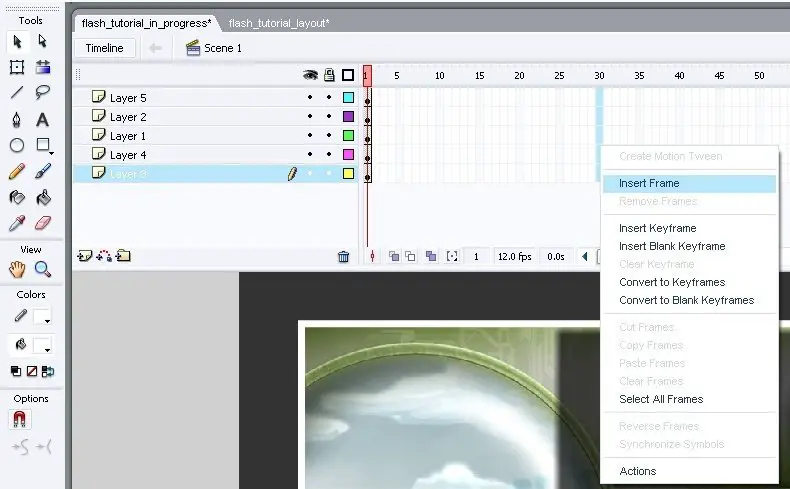
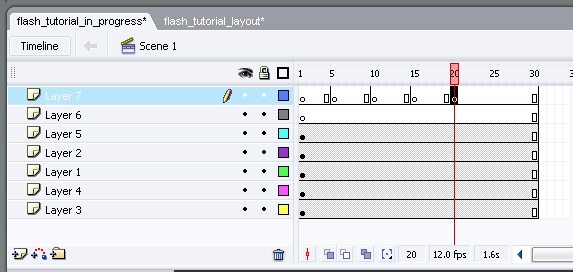
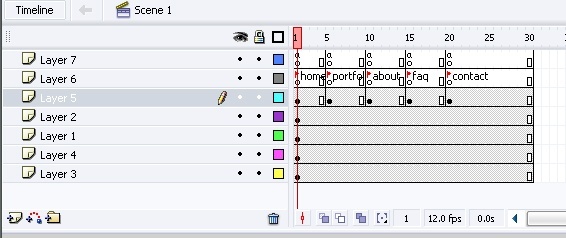
38. The next step is important so pay close attention. if you look where all the layers are to the right there are a bunch of numbers what you need to do is on the number 30 at the top click and drag down to select all the layers and the right click and click insert frame.
39. Create two more layers at the very top.
40. on the very top on the teh time line whre the number 5 is press it dont drag this time and press (F6) do that a the number 10,15, and 20
41. now on the little sircle on the number one frame select it and press (F9) this will bring up the actionscript window. here type the following “stop();”
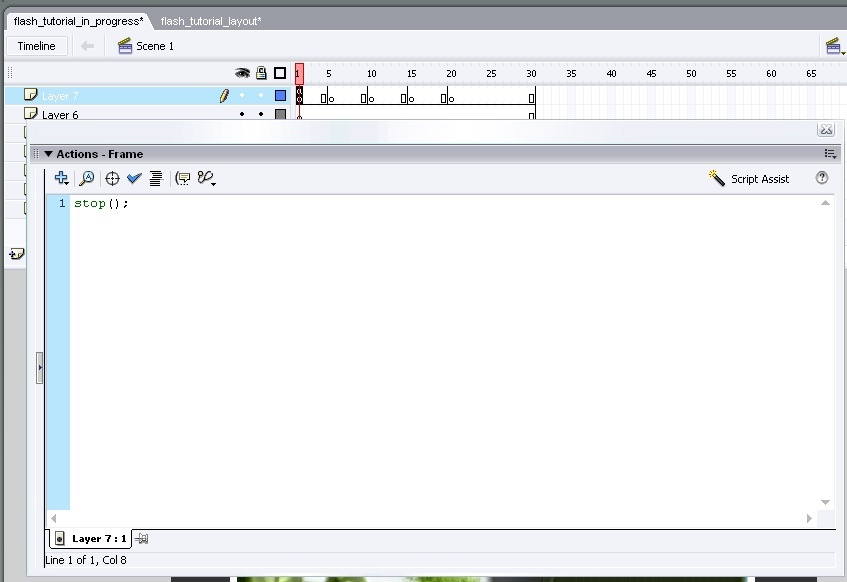
42.as you can tell now intop of that littel circle there is a letter “a” this means that there is actionscrip on that frame. now do the same on layer 5,10,15, and 20.
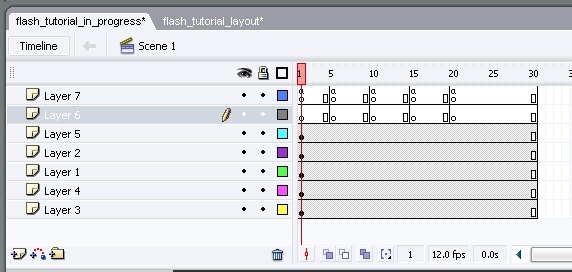
43. Ok now press (F6) again on the layers5,10,15, and 20 but this time on the layer right under.
44. we are going to do something a little diffrent this time we are going to name the little sircles instead of inserting actionscript. do this click on the first frame on the circle with nothing on it and then go to the bottom left corner and there is something that says frame there enter the following “home”.
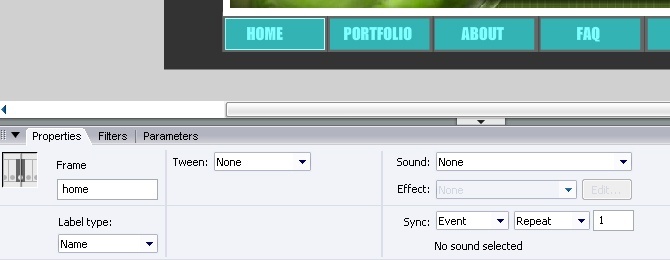
45. Now name all the other little circles this shouuld be the names ( portfolio, about, faq, and contact).
46. ok now on the layer under what you need to do is to Press (F6) also on frames 5,10,15,and 20. after this you will have a litte black dot on each one of those.
47. on the frist frame where the black square was type whatever you want
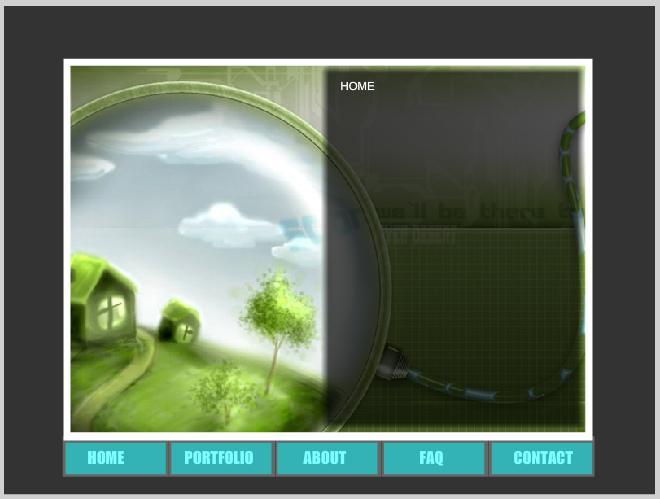
48. Now type something diffrently on frames 5,10,15 and 20.
49. after you have typed everything you wanted on the diffrent squares now its time to make it all work. what you need to do is to click on the blue square ontop of the “home button” dont double click it just select it. afte you have it selected press (F9) this will bring up the the actionscript window type the following
on(press){
gotoAndStop(“home”);
}
this will make it that when you click on that button it will go to the frame that you named home. follow the same steps on every blue box but where the parentises are intead of having home type in the appropiate name. such as( portfolio, about, faq, and contact.
50. Now you have finished this simple but very nice looking flash site. save your work. and to see it at work press (Ctrl + Enter) to see the swf. hope you enjoyed this tutorial.
51. Alternatively, if you are extremely frustrated with flash and want to save yourself some time, you can create a free flash website with Wix. Create a super good looking, professional flash website without any knowledge of flash.
thanks for those guide lines.please visit my sitehow to make a flash website
ReplyDelete